I decided to start writing again — busyness had been my excuse for long enough. As a first step, I’m revamping this website so I can capture my thoughts in the format I actually want.
This website started from a Jekyll-based blog template I purchased in 2021. Given how old the purchase was, some features had grown outdated; and since it wasn’t a developer blog template to begin with, there was plenty to rework. The most glaring issue was Google Analytics, the template’s default visitor data collection tool.
I became interested in data sovereignty and privacy through A Cypherpunk’s Manifesto. Google Analytics was far from that in several ways: visitors have no right to refuse data collection, data is owned by Google, Google is granted the right to use my data, and cookie-based tracking makes shadow profiling possible. On top of that, its heavy script degrades user experience.
As an alternative, I switched to self-hosting Umami, an open-source analytics tool.
What is Umami?

Umami is an open-source analytics platform built to address privacy concerns in traffic analysis. It replaces Google Analytics’s complex tracking structure — collecting visitor data without cookies and protecting privacy by design. Built as a single lightweight app with a Next.js frontend and PostgreSQL database, it’s simple to develop and operate.
Its privacy-first philosophy, open-source nature, and ease of deployment matched exactly what I needed — so Umami was the obvious choice.
Implementing Umami Analytics
Here’s how I actually set up Umami and integrated it into the blog. For a quick setup, I used Supabase as the database and hosted on Vercel. The fact that both are free is a bonus.
Supabase Provisioning
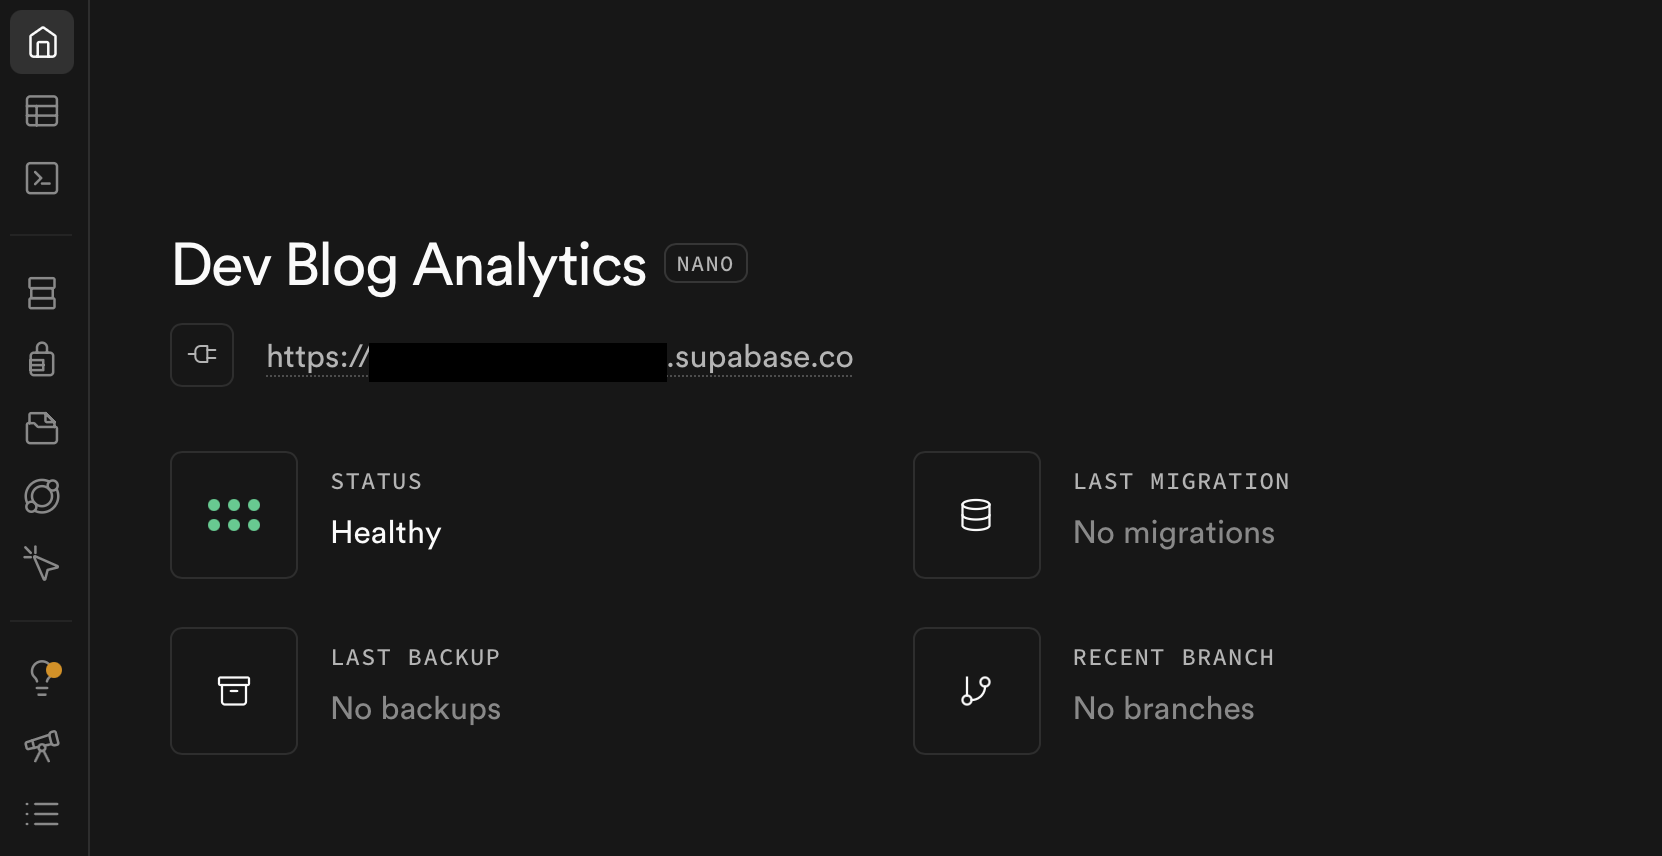
First, go to Supabase and create a project.
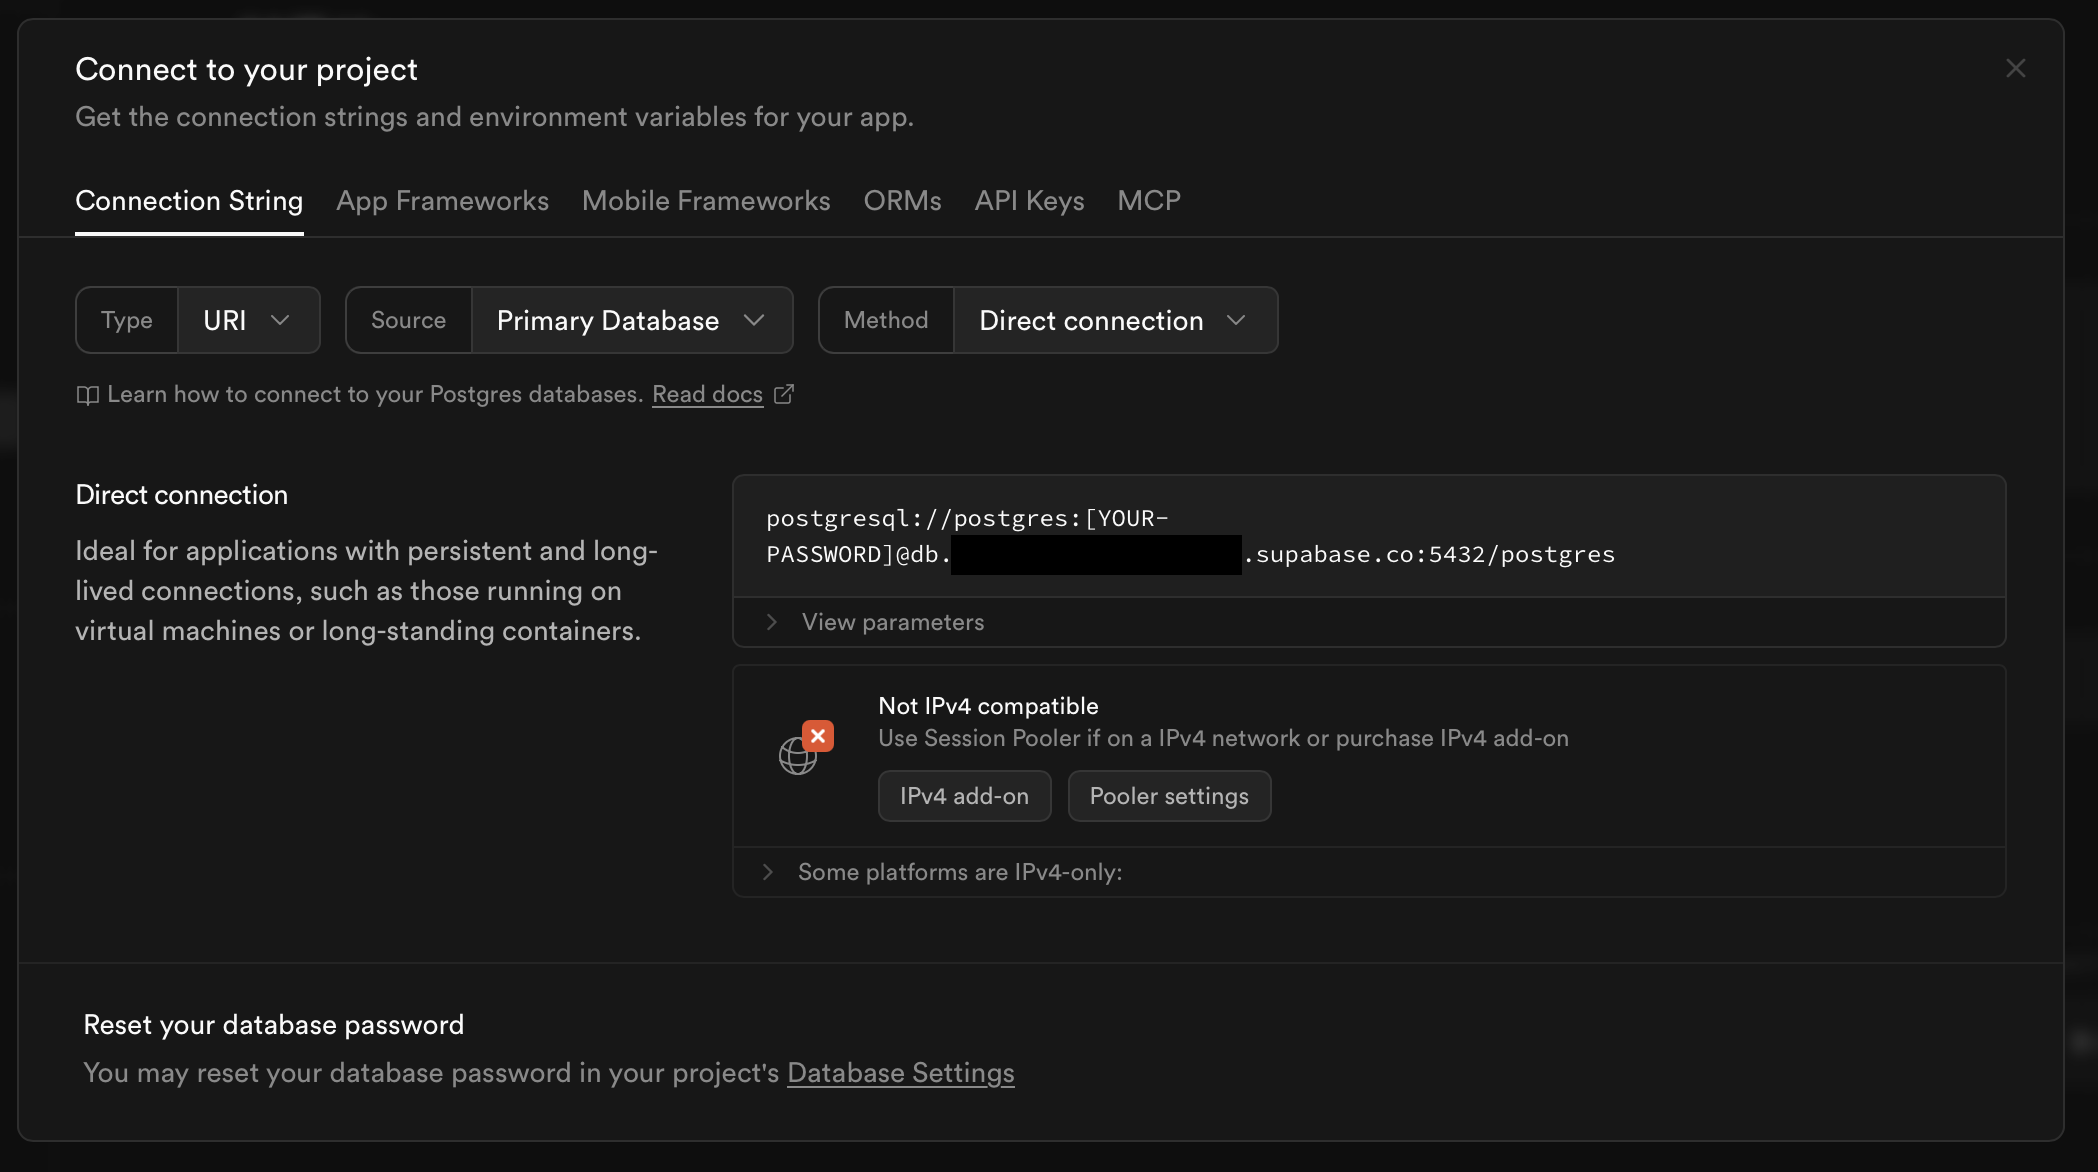
Then search for ‘Connection String’ in the search bar to find the database connection string that Umami will use to access Supabase’s PostgreSQL.
The connection port must be 5432. Port 6543 is reserved for transaction mode — connecting through it causes Prisma ORM, which Umami uses internally to create tables on first deployment, to malfunction, making the entire deployment fail.
Umami Deployment on Vercel
Vercel lets you import a GitHub repository and deploy it instantly. I’ll use this to deploy Umami in a few steps.
First, fork the Umami repository on GitHub.
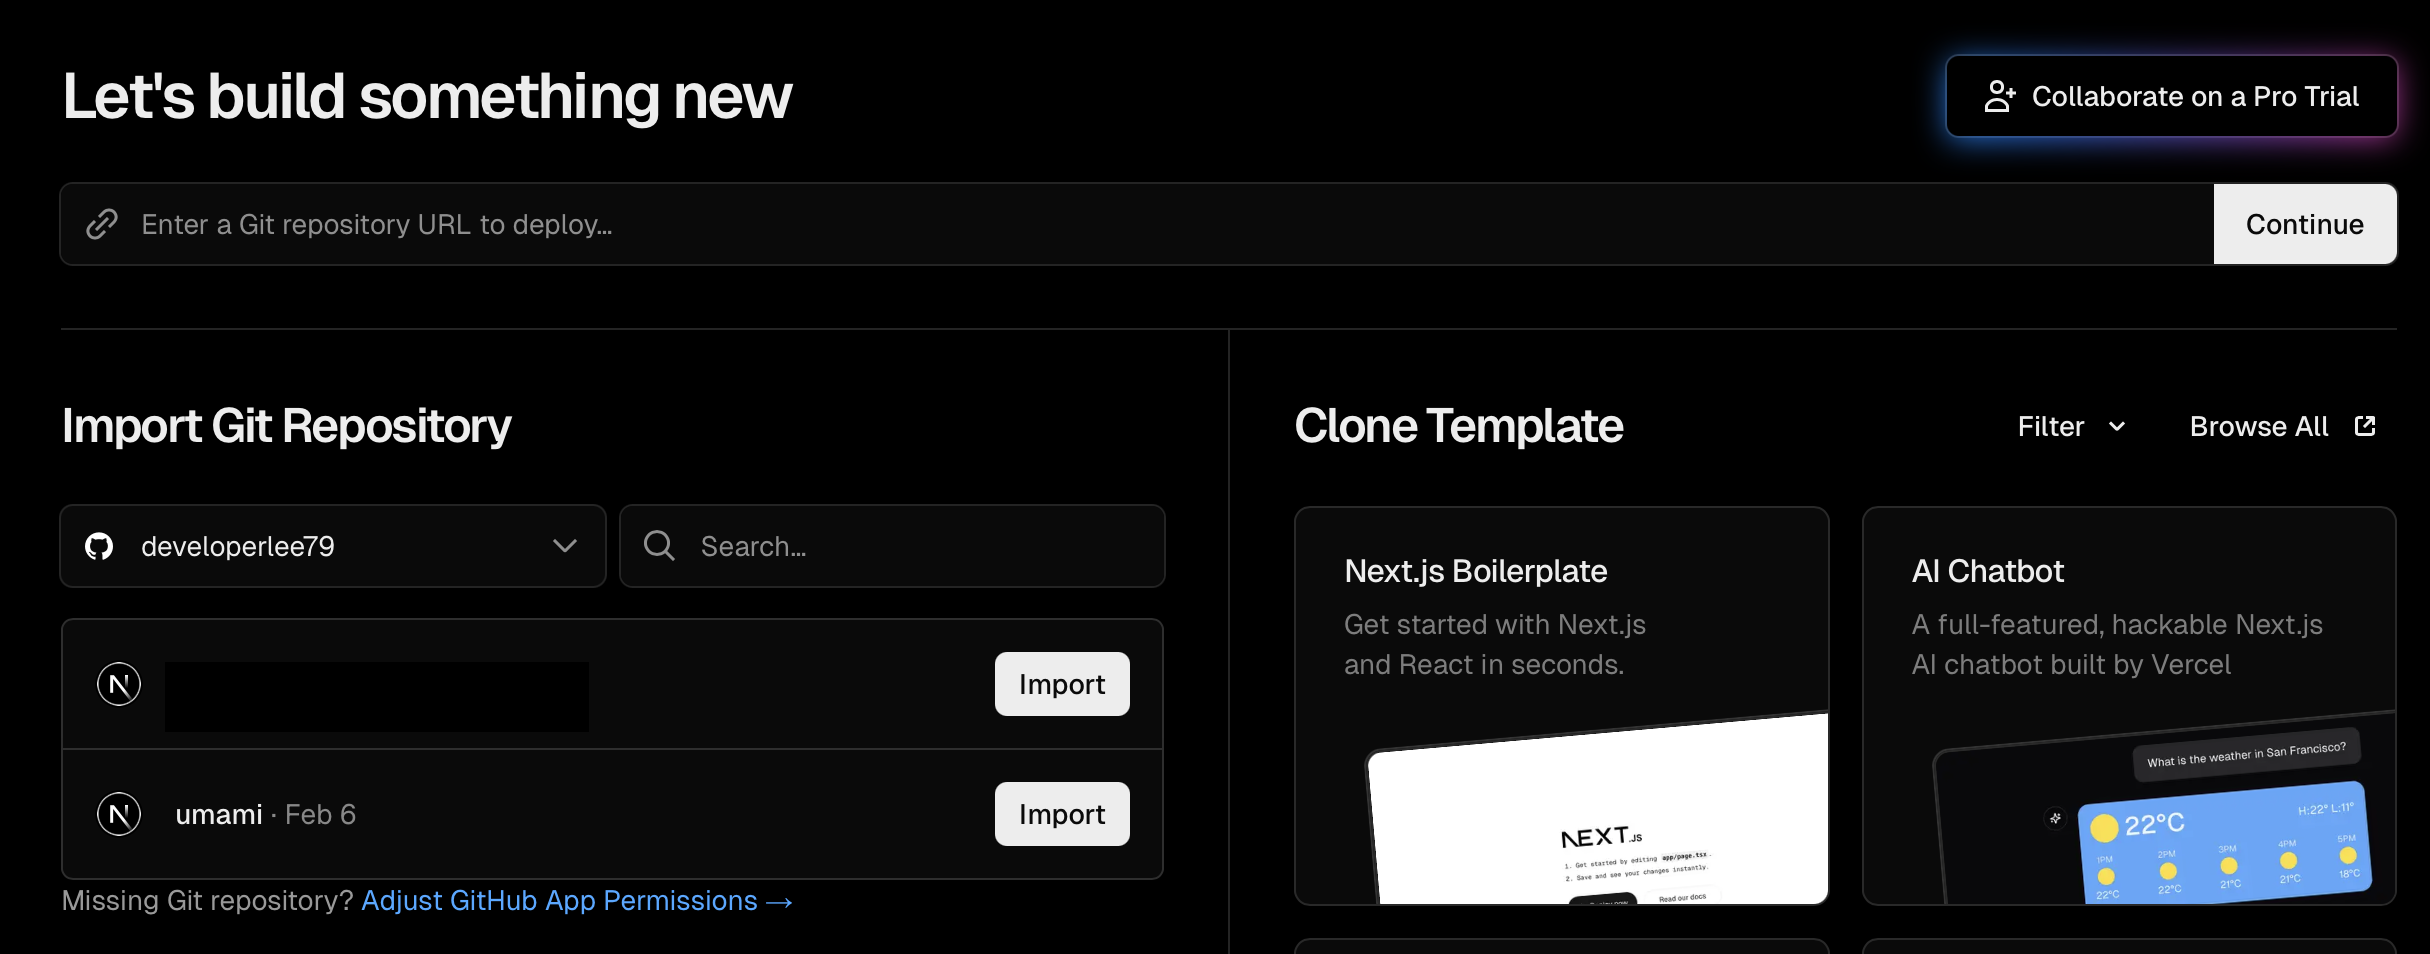
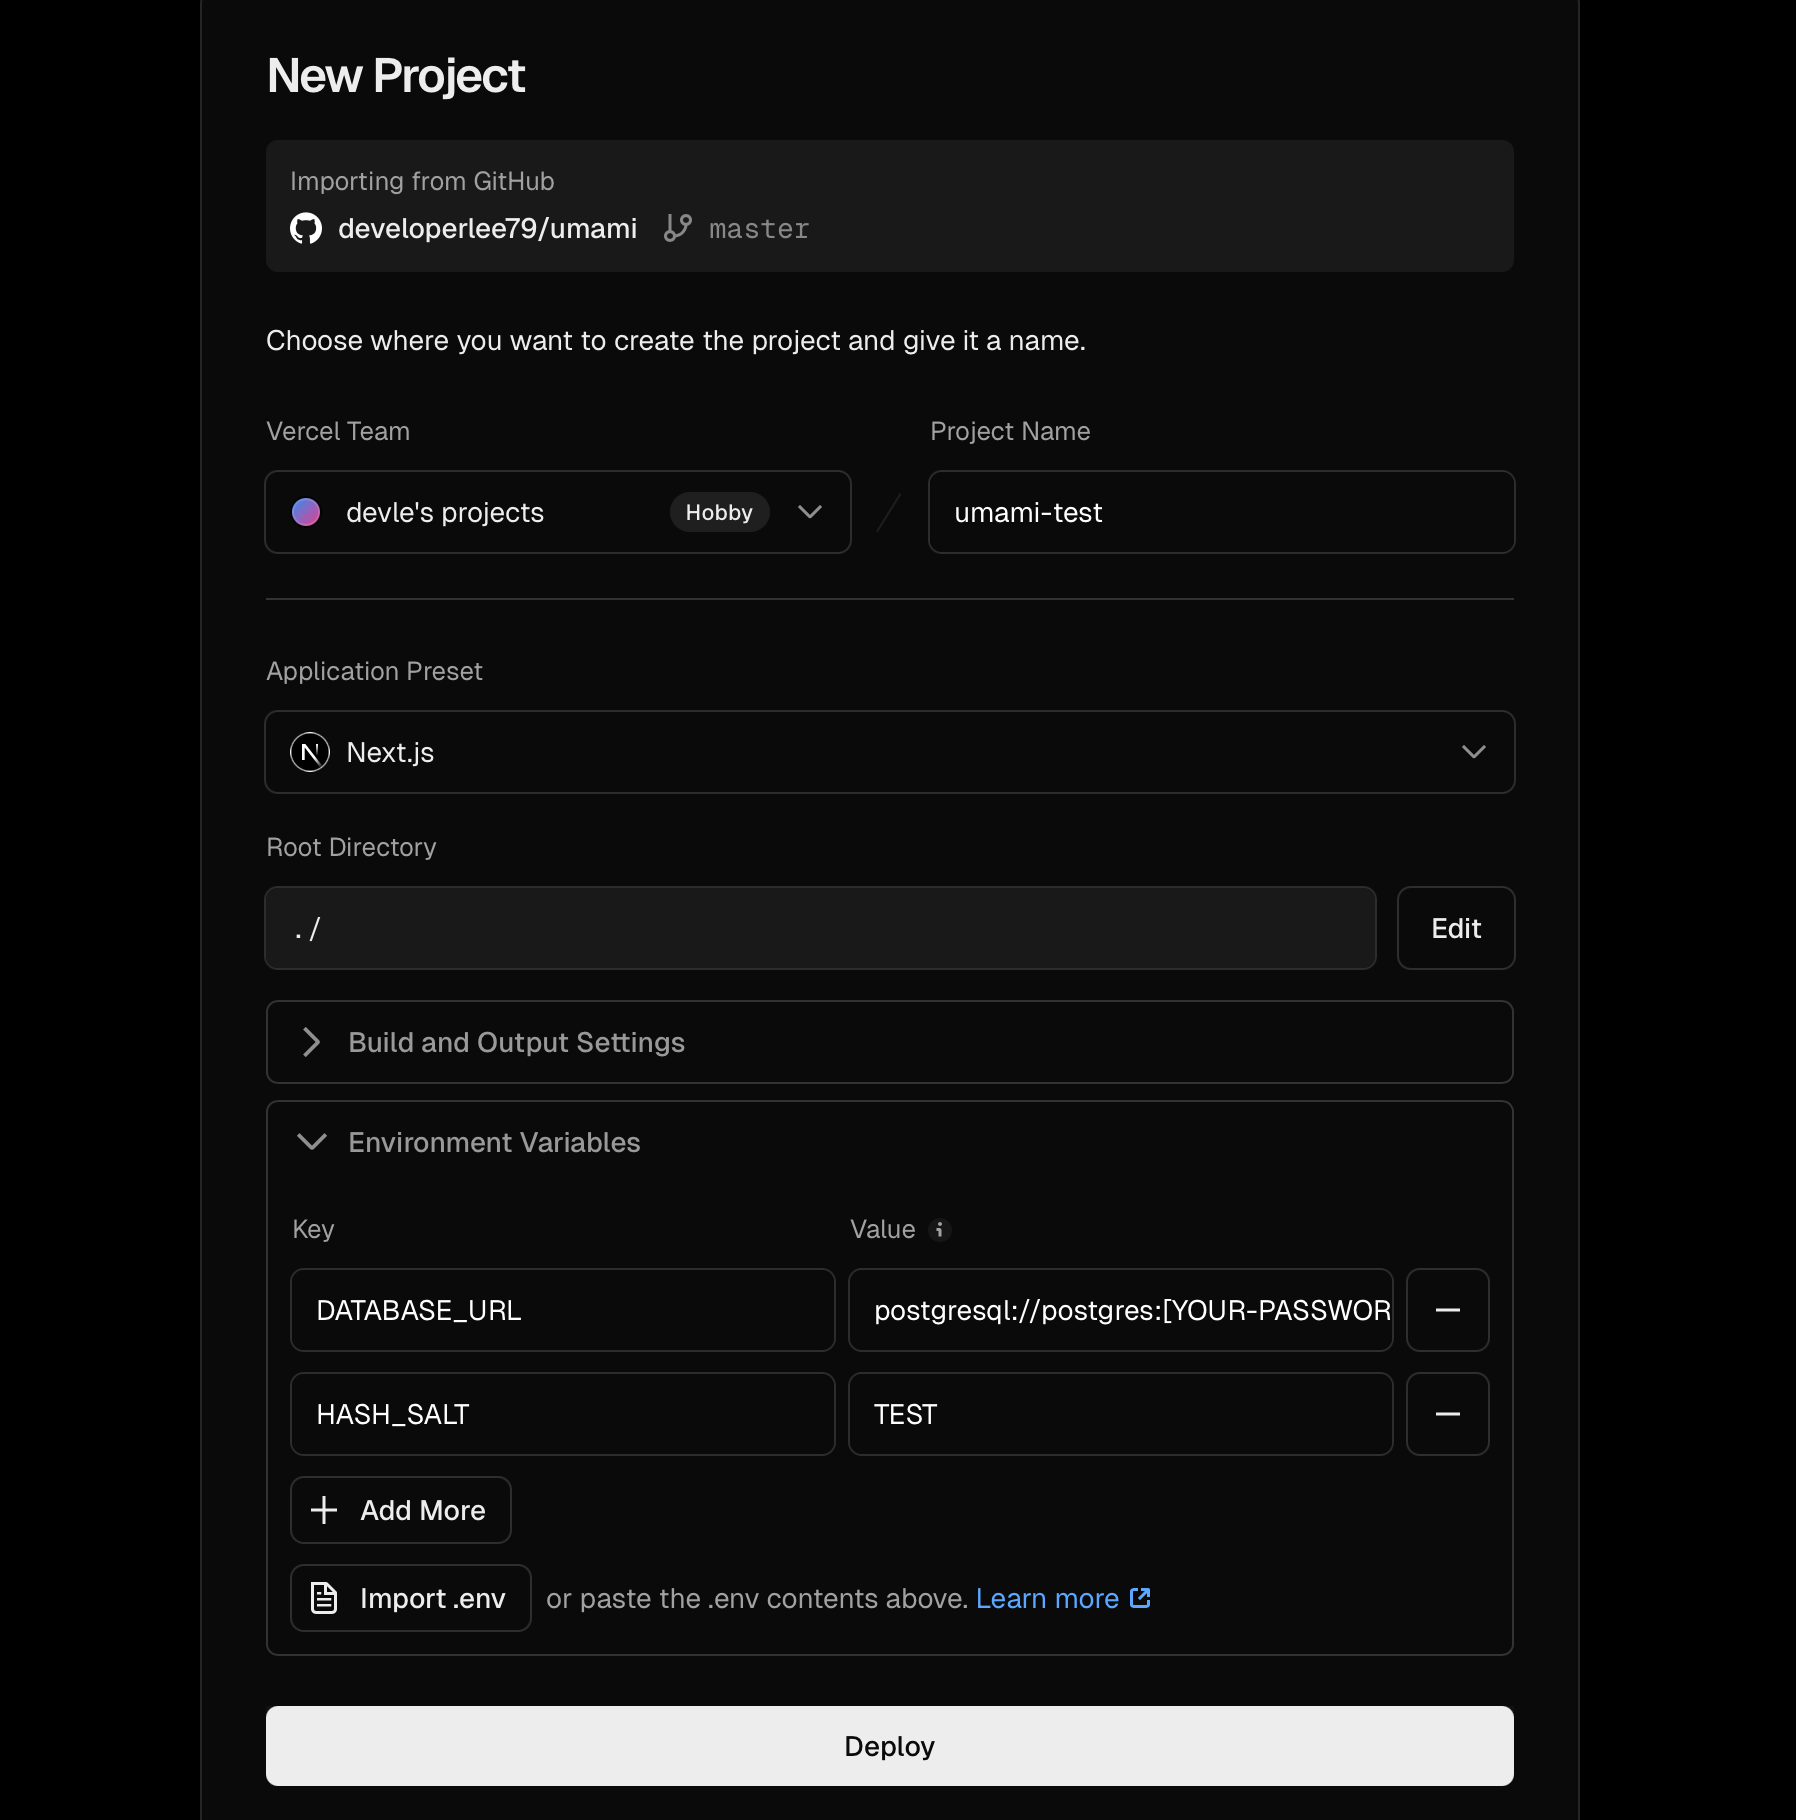
Next, create a project in Vercel. Click Add New → Project in the top-right of the Overview page, then import Umami from the Import Git Repository menu.
On the project configuration screen, leave everything else as-is and add the DATABASE_URL and HASH_SALT environment variables.
| Environment Variable | Description | Value |
|---|---|---|
DATABASE_URL |
Database connection URL | Enter the Connection String from the Supabase database above |
HASH_SALT |
Random string used for database encryption | Enter any random string |
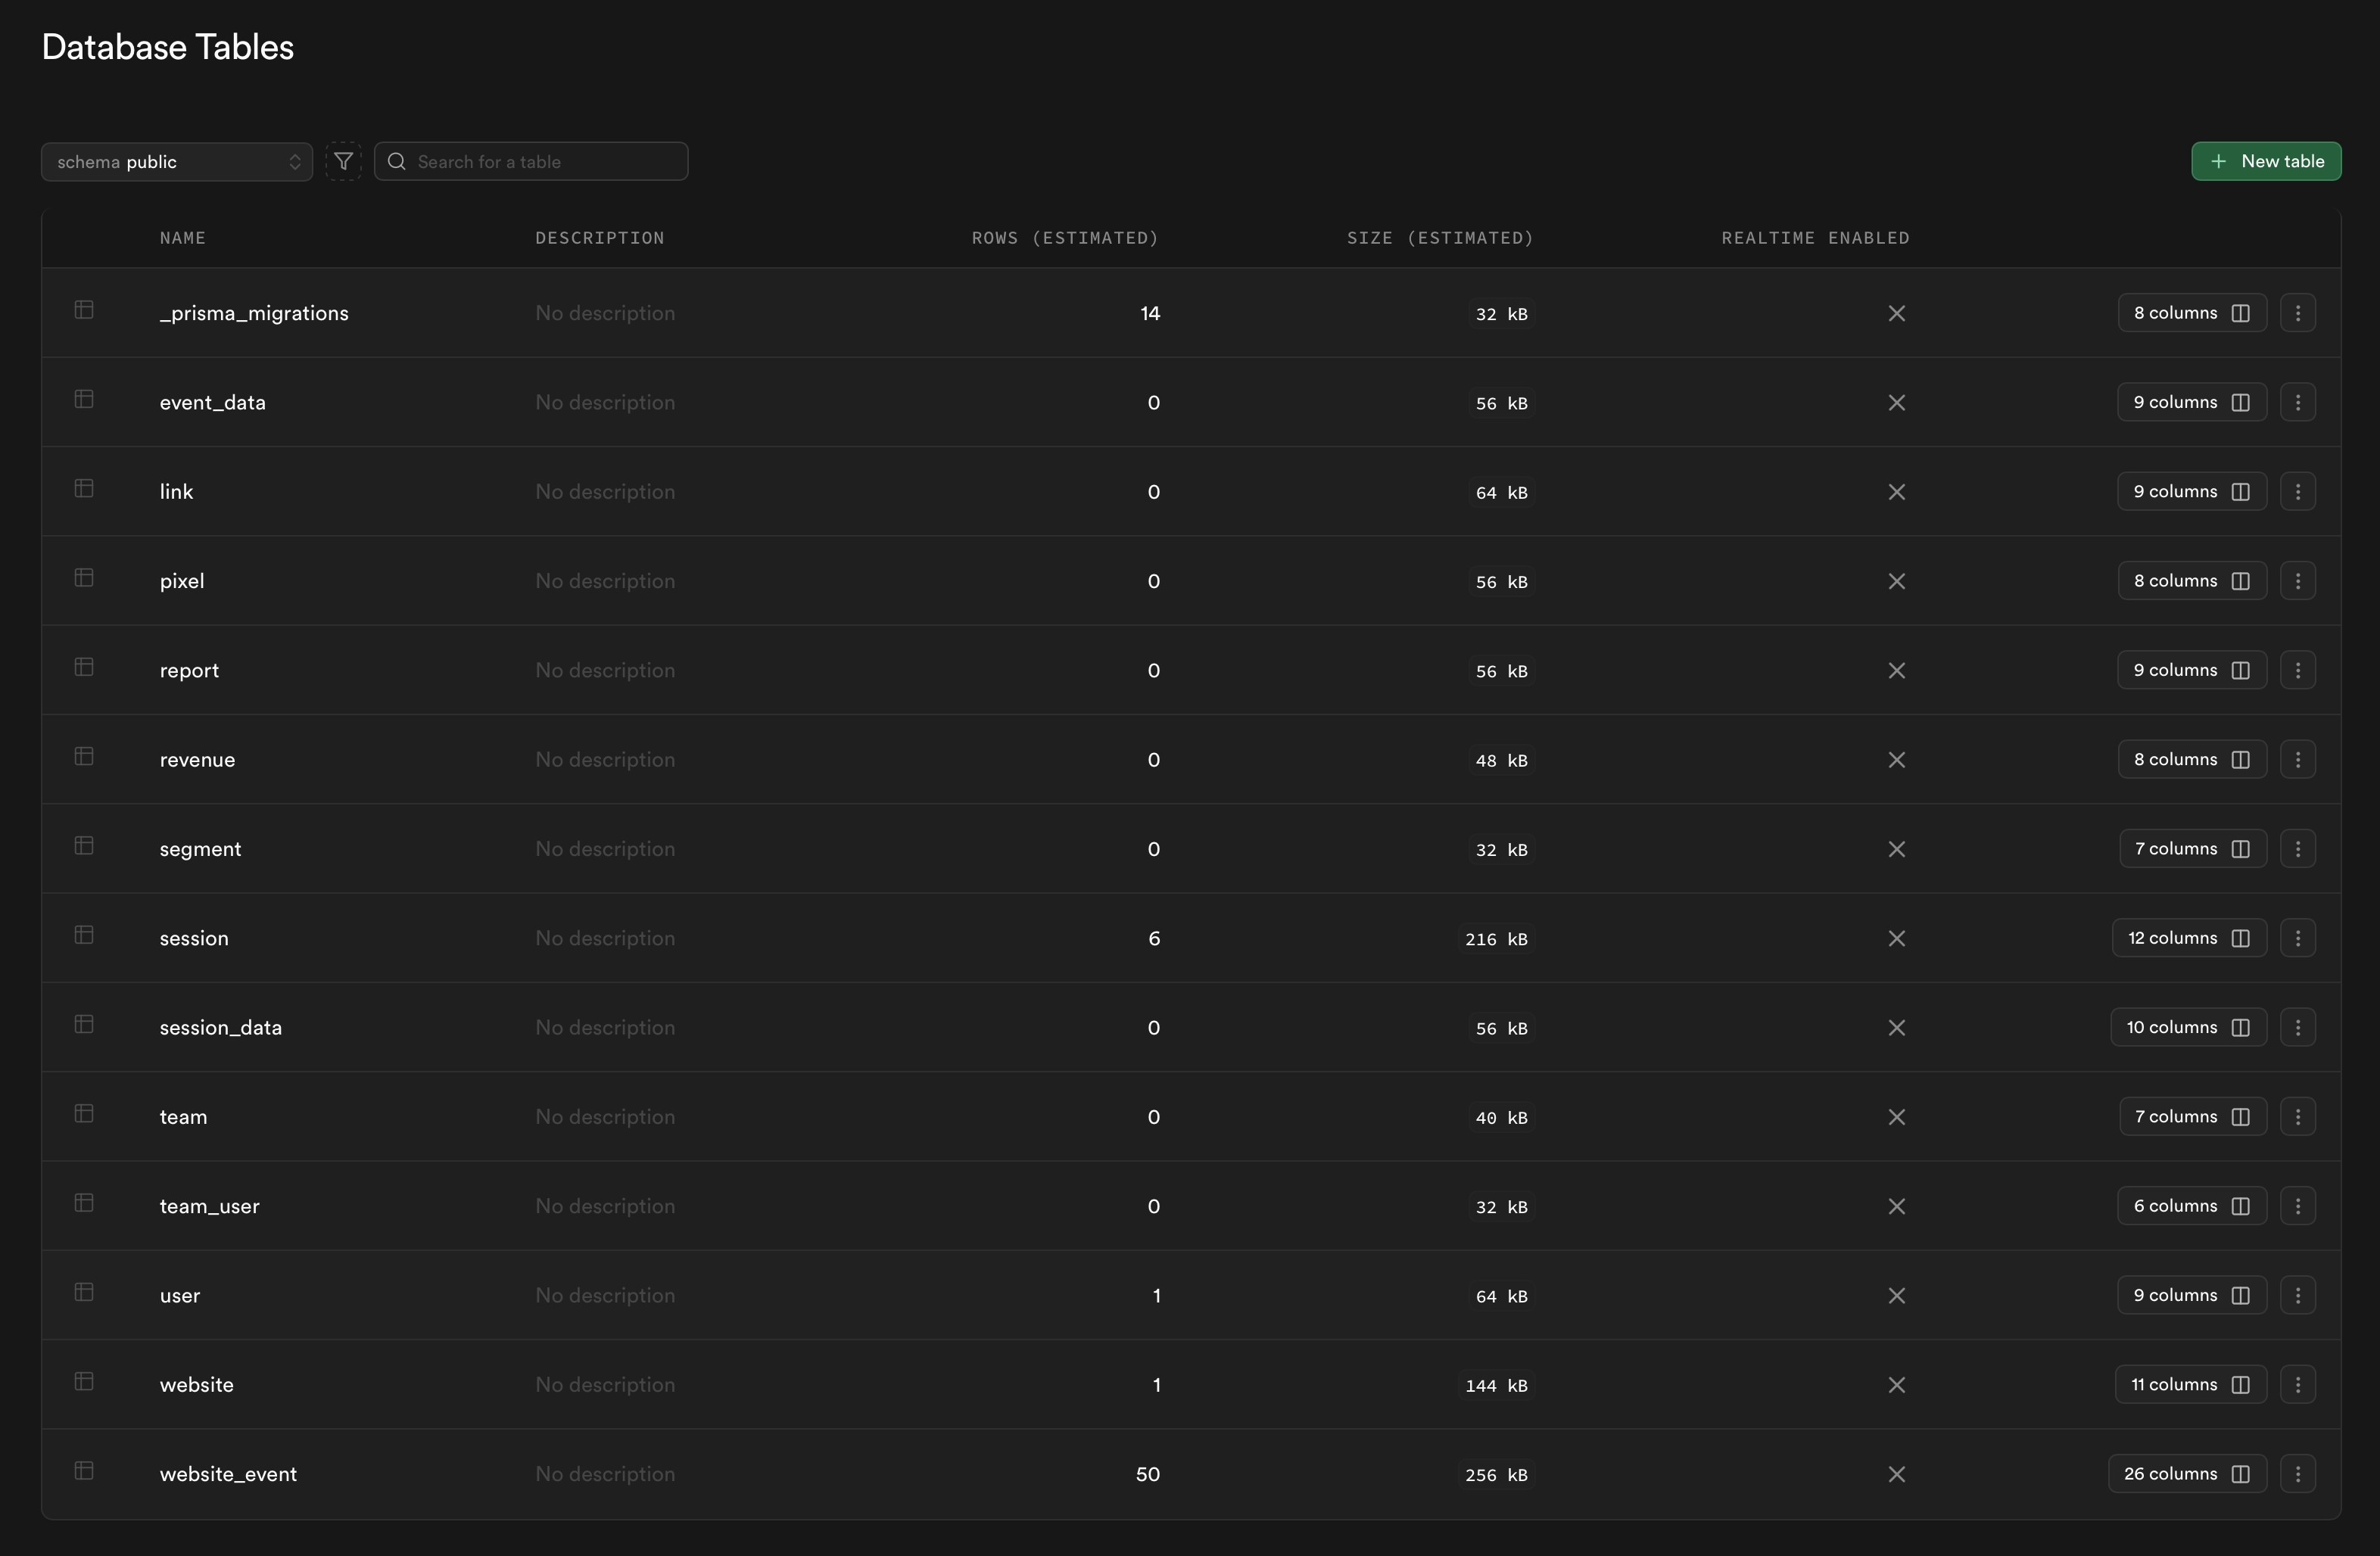
Click Deploy, and once it completes, the Supabase tables are created automatically as shown below.
Log in to the deployed Umami website with the default credentials (admin / umami) and register your website’s domain in advance.
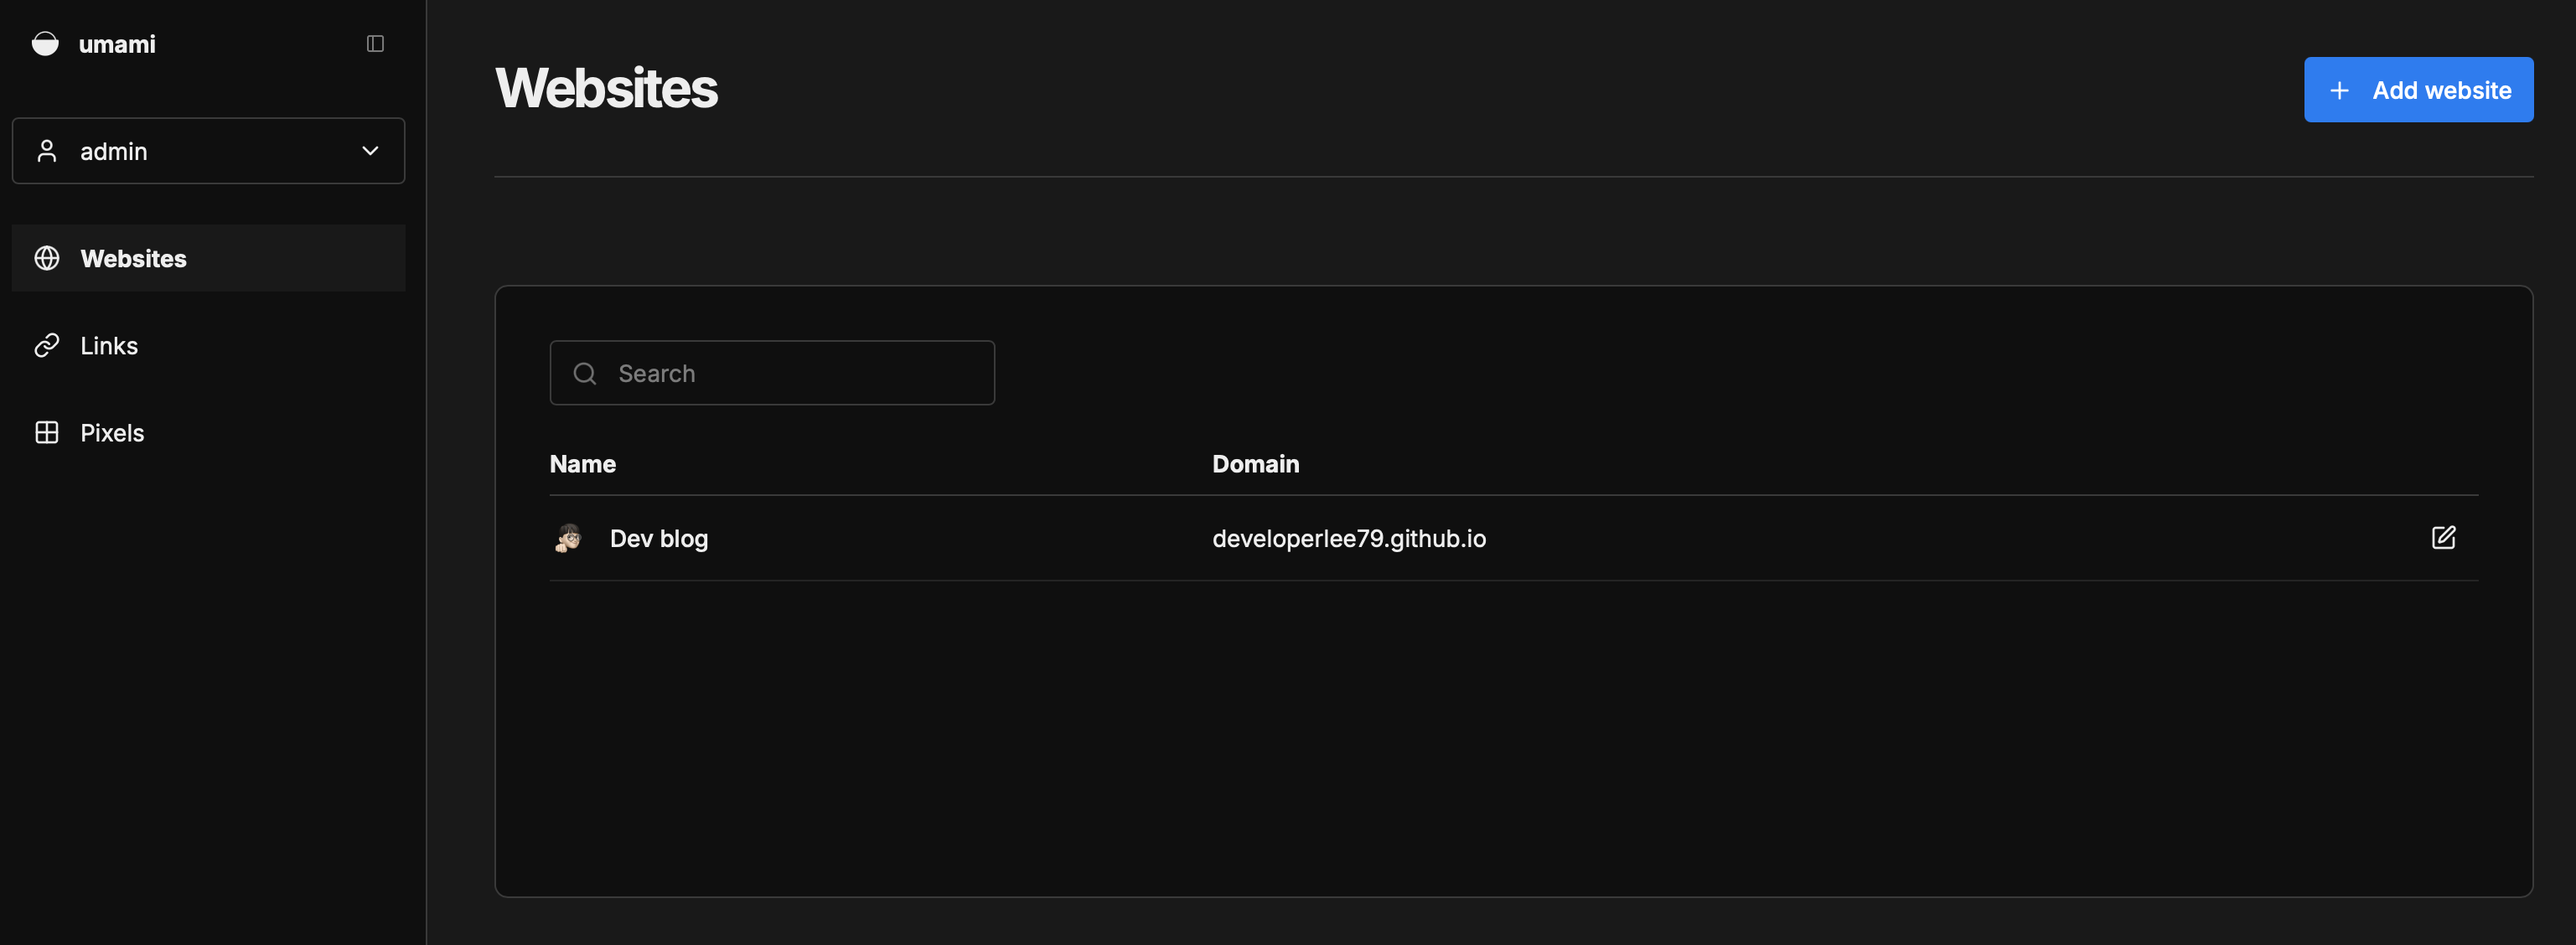
Then click the Edit button to the right of the website entry to find the tracking script. Actual data collection only begins after embedding the tracking script in your website.
![]()
Embedding the Tracking Code
I’ll cover two approaches: editing HTML directly, and integrating with a Jekyll site.
HTML
Add the Umami script inside the HTML <head> tag.
<head>
    <meta charset="utf-8">
    <meta name="viewport">
    <title>Website Title</title>
    <script defer src="https://your-umami-domain.vercel.app/script.js" data-website-id="your-website-id"></script>
</head>
Jekyll Integration
Add the Umami tag information to _config.yml (or wherever you manage environment variables).
# Umami Analytics
umami:
  script-url: "https://your-umami-domain.vercel.app/script.js"
  website-id: "your-website-id"
Then create includes/umami.html and add the Umami connection script.
<script async src="https://umami-theta-lemon.vercel.app/script.js" data-website-id="35f2b041-3ac1-4099-abe3-fa26327bf048"></script>
Next, add the Umami file include to _layouts/default.html (or whichever base HTML template you use).
<body>
  {% if site.data.settings.umami and site.data.settings.umami.website-id %}
    {% include umami.html %}
  {\% endif %}

  {% include header.html %}
  ...
</body>
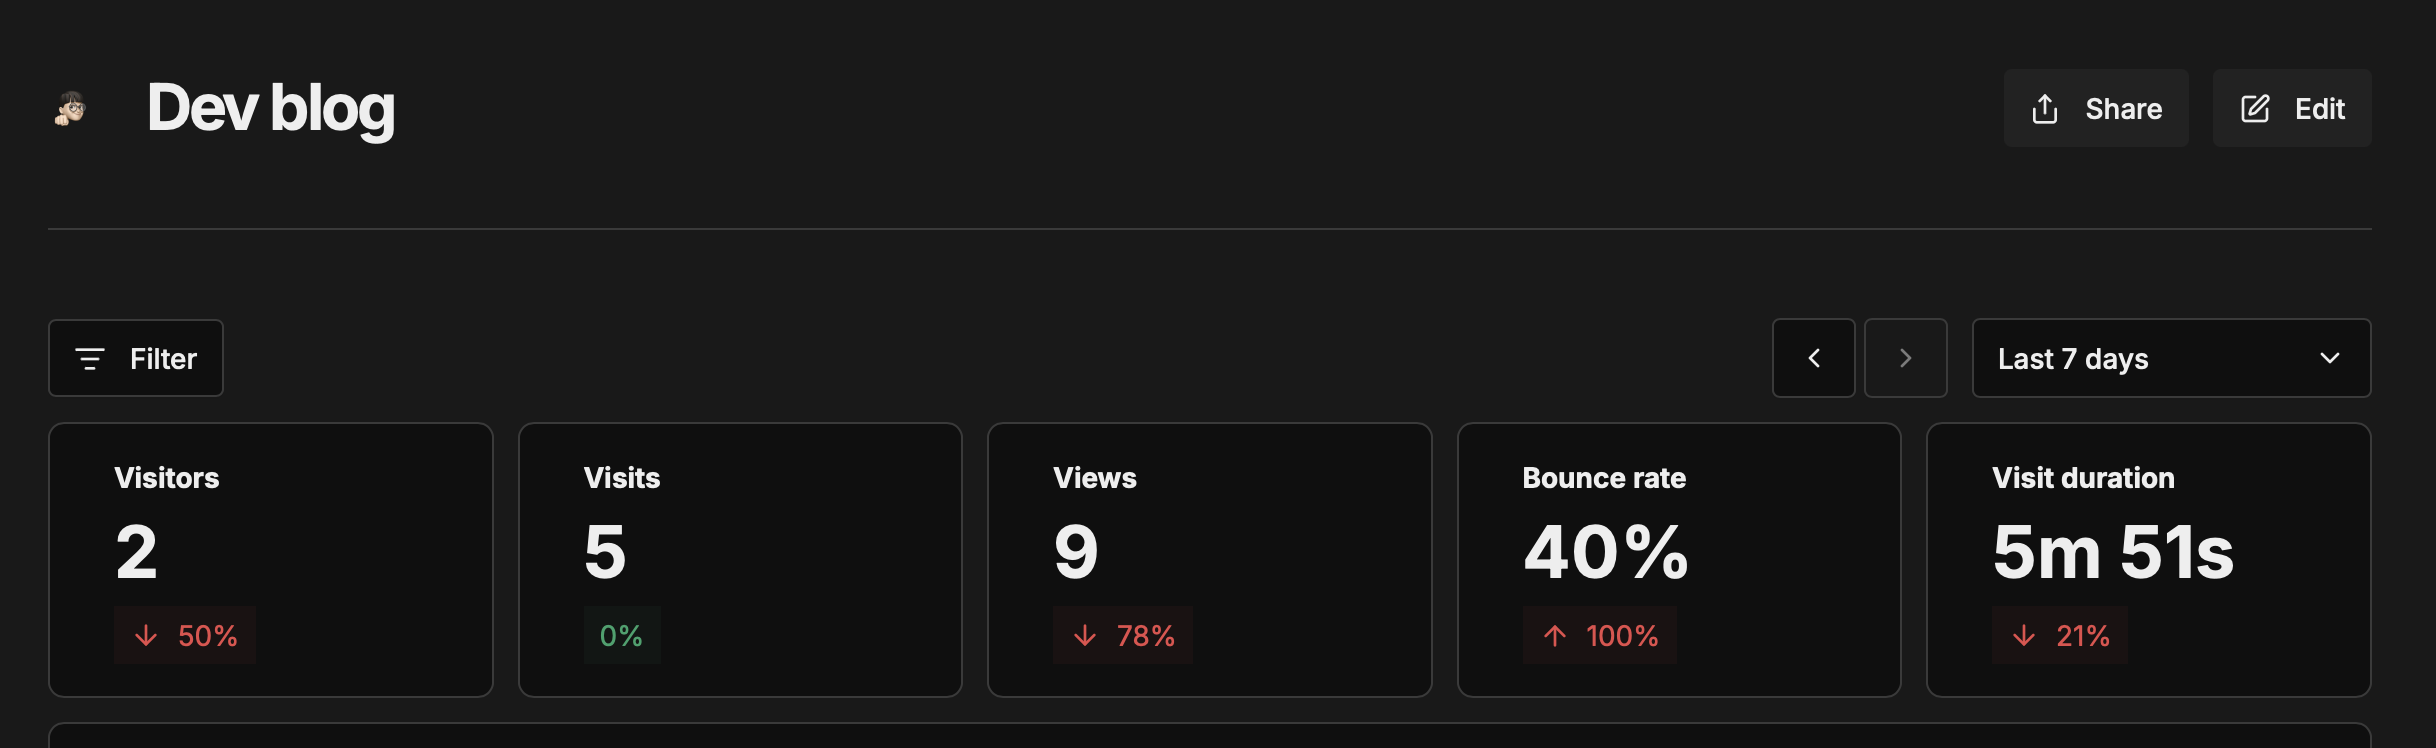
Restart the project, and visitor data collection should be working correctly.
Adding Opt-out
Since the whole point of migrating to Umami was to respect privacy, visitors should also have the right to refuse data collection. I added an opt-out button to make that possible.
Umami stops collecting data when the umami.disabled variable in the user’s browser localStorage is set to true. Using this, I added a simple toggle button that flips the value of umami.disabled.
{% if site.data.settings.umami and site.data.settings.umami.website-id %}
<span class="footer__opt-out-wrap">
    <span class="footer__opt-out-label">Disable analytics</span>
    <button type="button" class="footer__opt-out-switch" data-umami-opt-out role="switch" aria-checked="false" aria-label="Disable analytics" title="Analytics on">
        <span class="footer__opt-out-track">
            <span class="footer__opt-out-thumb"></span>
        </span>
    </button>
</span>
{% endif %}
var optOutSwitch = document.querySelector("[data-umami-opt-out]");
if (optOutSwitch) {
    var umamiDisabledKey = "umami.disabled";
    var wrap = optOutSwitch.closest(".footer__opt-out-wrap");
    var labelEl = wrap ? wrap.querySelector(".footer__opt-out-label") : null;
    var isOptOut = !!localStorage.getItem(umamiDisabledKey);

    optOutSwitch.setAttribute("aria-checked", isOptOut ? "true" : "false");
    optOutSwitch.title = isOptOut ? "Analytics off" : "Analytics on";
    optOutSwitch.setAttribute("aria-label", isOptOut ? "Enable analytics" : "Disable analytics");
    if (labelEl) {
        labelEl.textContent = isOptOut ? "Enable analytics" : "Disable analytics";
    }

    optOutSwitch.addEventListener("click", function () {
        if (localStorage.getItem(umamiDisabledKey)) {
            localStorage.removeItem(umamiDisabledKey);
        } else {
            localStorage.setItem(umamiDisabledKey, "true");
        }
        location.reload();
    });
}
You can click that button in the footer of this page to block data collection.
