
As I mentioned in the Google Analytics to Umami migration post, I am in the middle of a major blog overhaul. After addressing the visit data analytics, the next task was switching the comment platform.
This website started from a Jekyll template I purchased in 2021. Disqus was the comment platform built into that template.
As I mentioned, I treat data sovereignty and privacy as core values — and Disqus does not align with them. Comment data is owned by the platform, users are tracked and profiled, and there have been multiple security breach incidents. It was a poor choice from a privacy standpoint.
I chose Giscus as the alternative: an open-source comment widget backed by GitHub Discussions.
What is Giscus?
Giscus is an open-source comment widget that uses GitHub Discussions.
Comment data is stored and managed in a GitHub Repository’s Discussions, powered by a lightweight open-source client script. No ads, no tracking, no separate server required.
Control over comment data stays with me, setup is simple, and there is no user tracking — all three matched my requirements, so I went with Giscus.
Implementing Giscus
GitHub Repository Discussions Setup
Enable the Discussions feature in the GitHub Repository where comments will be stored. Since Giscus accesses the Repository’s Discussions to manage comments, the target Repository must be Public. Go to Repository → Settings → General → Features and check “Discussions”.
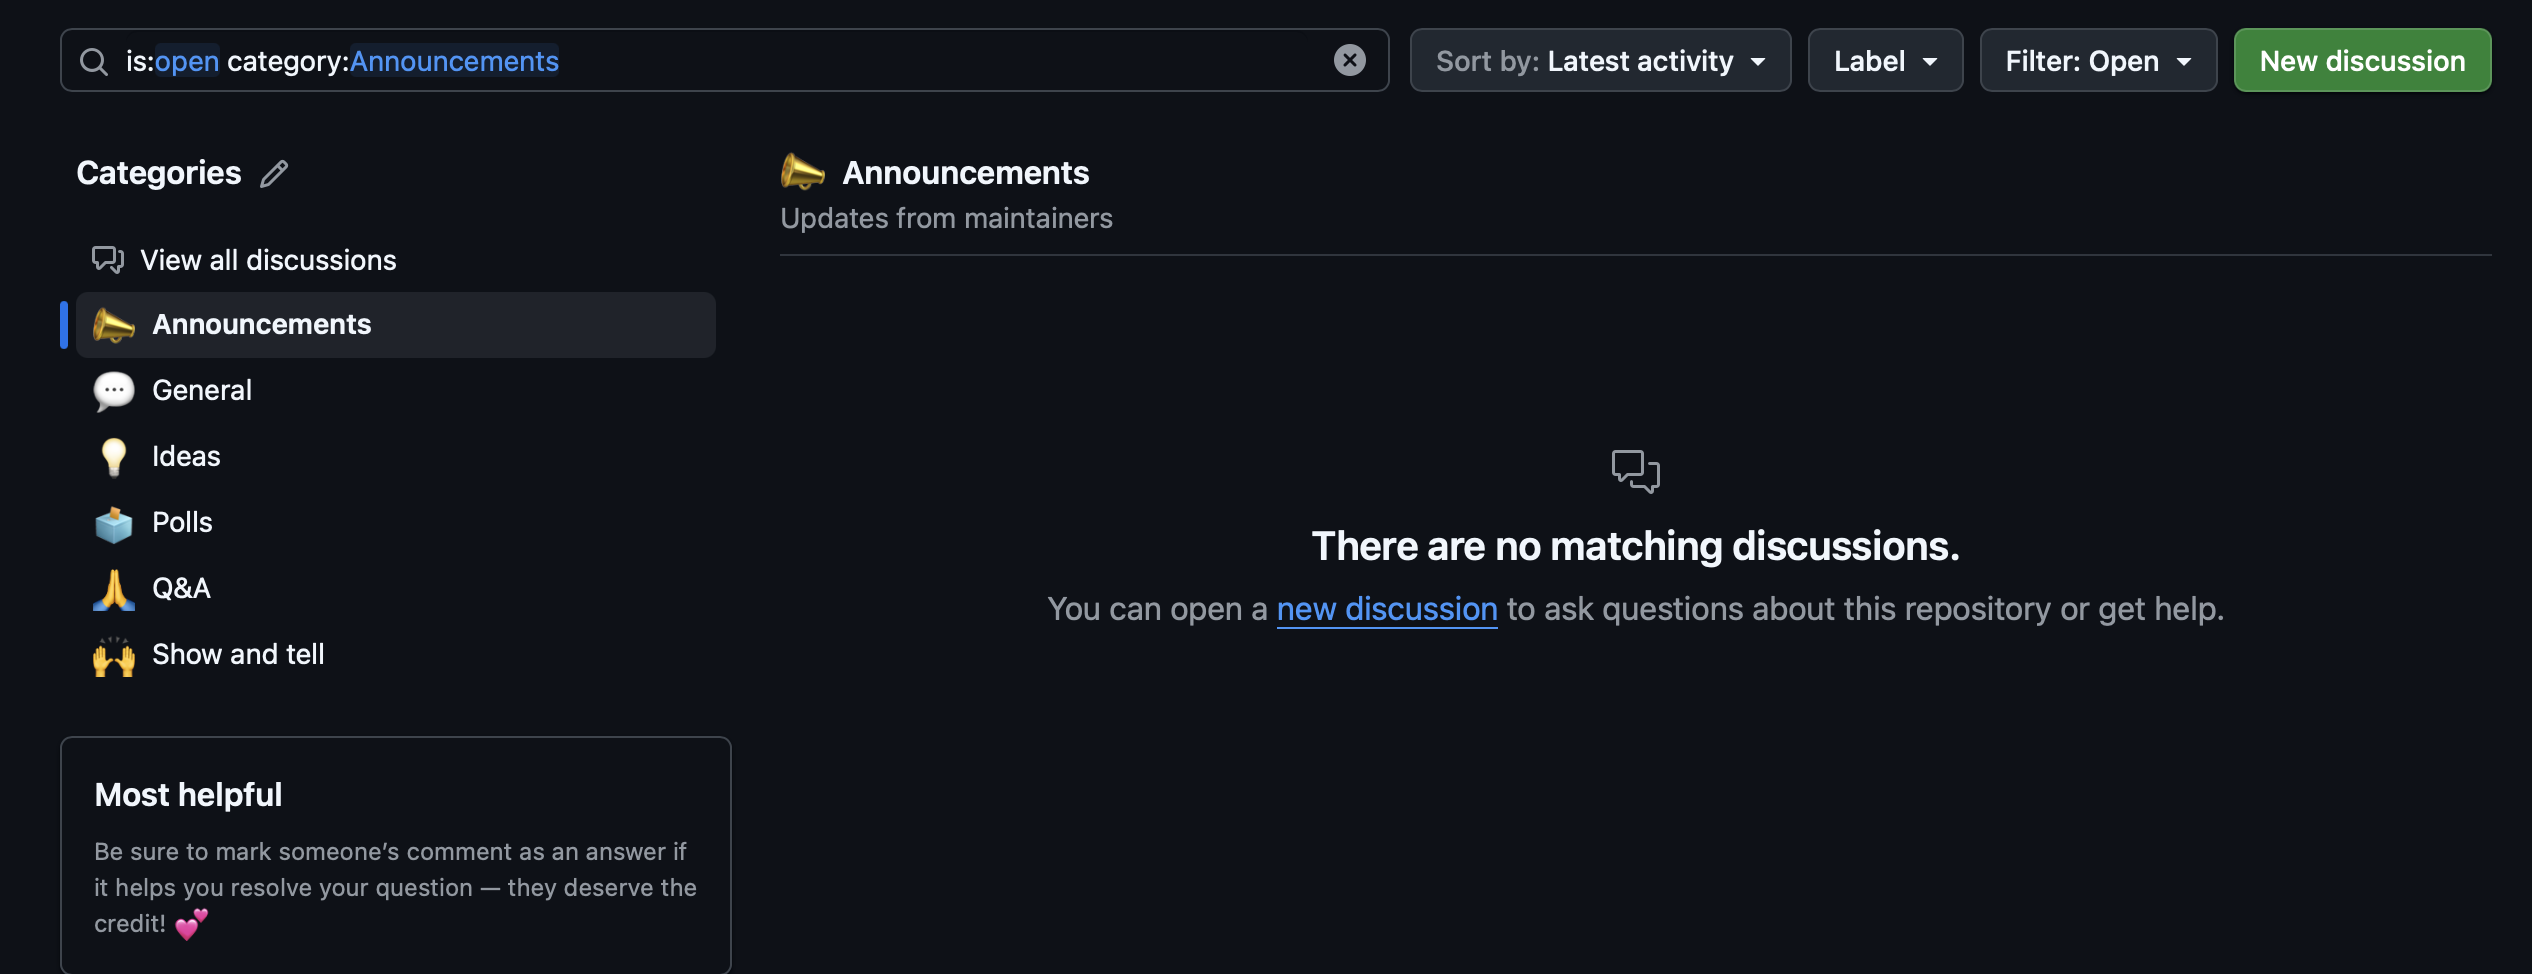
Next, create a category for Giscus to use. If you haven’t configured anything, a few categories are created by default as shown below — you can use them as-is.
Connecting the Giscus App to GitHub
You need to grant Giscus permission to access your GitHub Repository’s Discussions. Fortunately, this can be done directly through GitHub Apps without any painful environment setup.
Find the giscus App in the Marketplace and add it to your GitHub account.
In the giscus App settings under Repository access, select Only select repositories → the Repository where Discussions is configured to grant access.
Confirming Configuration at giscus.app
The only thing left is to get the script to attach to the website.
Go to giscus.app and enter your configuration — language, repository, path mapping, and so on.
Once complete, a script like the one below is generated in the “Enable giscus” section at the bottom. Add this script to your website to activate the comment widget.
<script src="https://giscus.app/client.js"
        data-repo="username/repo-name"
        data-repo-id="R_xxxxxxxx"
        data-category="Announcements"
        data-category-id="DIC_xxxxxxxx"
        data-mapping="pathname"
        data-strict="0"
        data-reactions-enabled="1"
        data-emit-metadata="0"
        data-input-position="bottom"
        data-theme="preferred_color_scheme"
        data-lang="en"
        crossorigin="anonymous"
        async>
</script>
Attaching Giscus to the Website
I’ll cover two approaches: applying it with simple HTML editing, and applying it on a Jekyll website.
HTML Editing
Copy the script generated from giscus.app and place it wherever you want comments to appear.
<div class="comments">
  <script src="https://giscus.app/client.js"
          data-repo="username/repo-name"
          data-repo-id="R_xxxxxxxx"
          data-category="Announcements"
          data-category-id="DIC_xxxxxxxx"
          data-mapping="pathname"
          data-strict="0"
          data-reactions-enabled="1"
          data-emit-metadata="0"
          data-input-position="bottom"
          data-theme="preferred_color_scheme"
          data-lang="en"
          crossorigin="anonymous"
          async>
  </script>
</div>
Jekyll Website Application
Add Giscus configuration environment variables to the configuration file (_data/settings.yml), matching the script generated from giscus.app.
# Giscus Comments
giscus:
  repo: "username/repo-name"
  repo_id: "R_xxxxxxxx"
  category: "Announcements"
  category_id: "DIC_xxxxxxxx"
  mapping: "pathname"
  strict: "0"
  reactions_enabled: "1"
  emit_metadata: "0"
  input_position: "bottom"
  theme: "preferred_color_scheme"
  lang: "en"
Create giscus-comments.html in the _includes directory and add the script from giscus.app. Set each attribute value as a Liquid variable so it pulls from the configuration file.
<script src="https://giscus.app/client.js"
        data-repo="{{ site.data.settings.giscus.repo }}"
        data-repo-id="{{ site.data.settings.giscus.repo_id }}"
        data-category="{{ site.data.settings.giscus.category }}"
        data-category-id="{{ site.data.settings.giscus.category_id }}"
        data-mapping="{{ site.data.settings.giscus.mapping }}"
        data-strict="{{ site.data.settings.giscus.strict }}"
        data-reactions-enabled="{{ site.data.settings.giscus.reactions_enabled }}"
        data-emit-metadata="{{ site.data.settings.giscus.emit_metadata }}"
        data-input-position="{{ site.data.settings.giscus.input_position }}"
        data-theme="preferred_color_scheme"
        data-lang="en"
        crossorigin="anonymous"
        async>
</script>
Then reference it in any HTML file where you want comments displayed.
<div class="container">
  <div class="row">
    <div class="col col-12">
      {% include giscus-comments.html %}
    </div>
  </div>
</div>
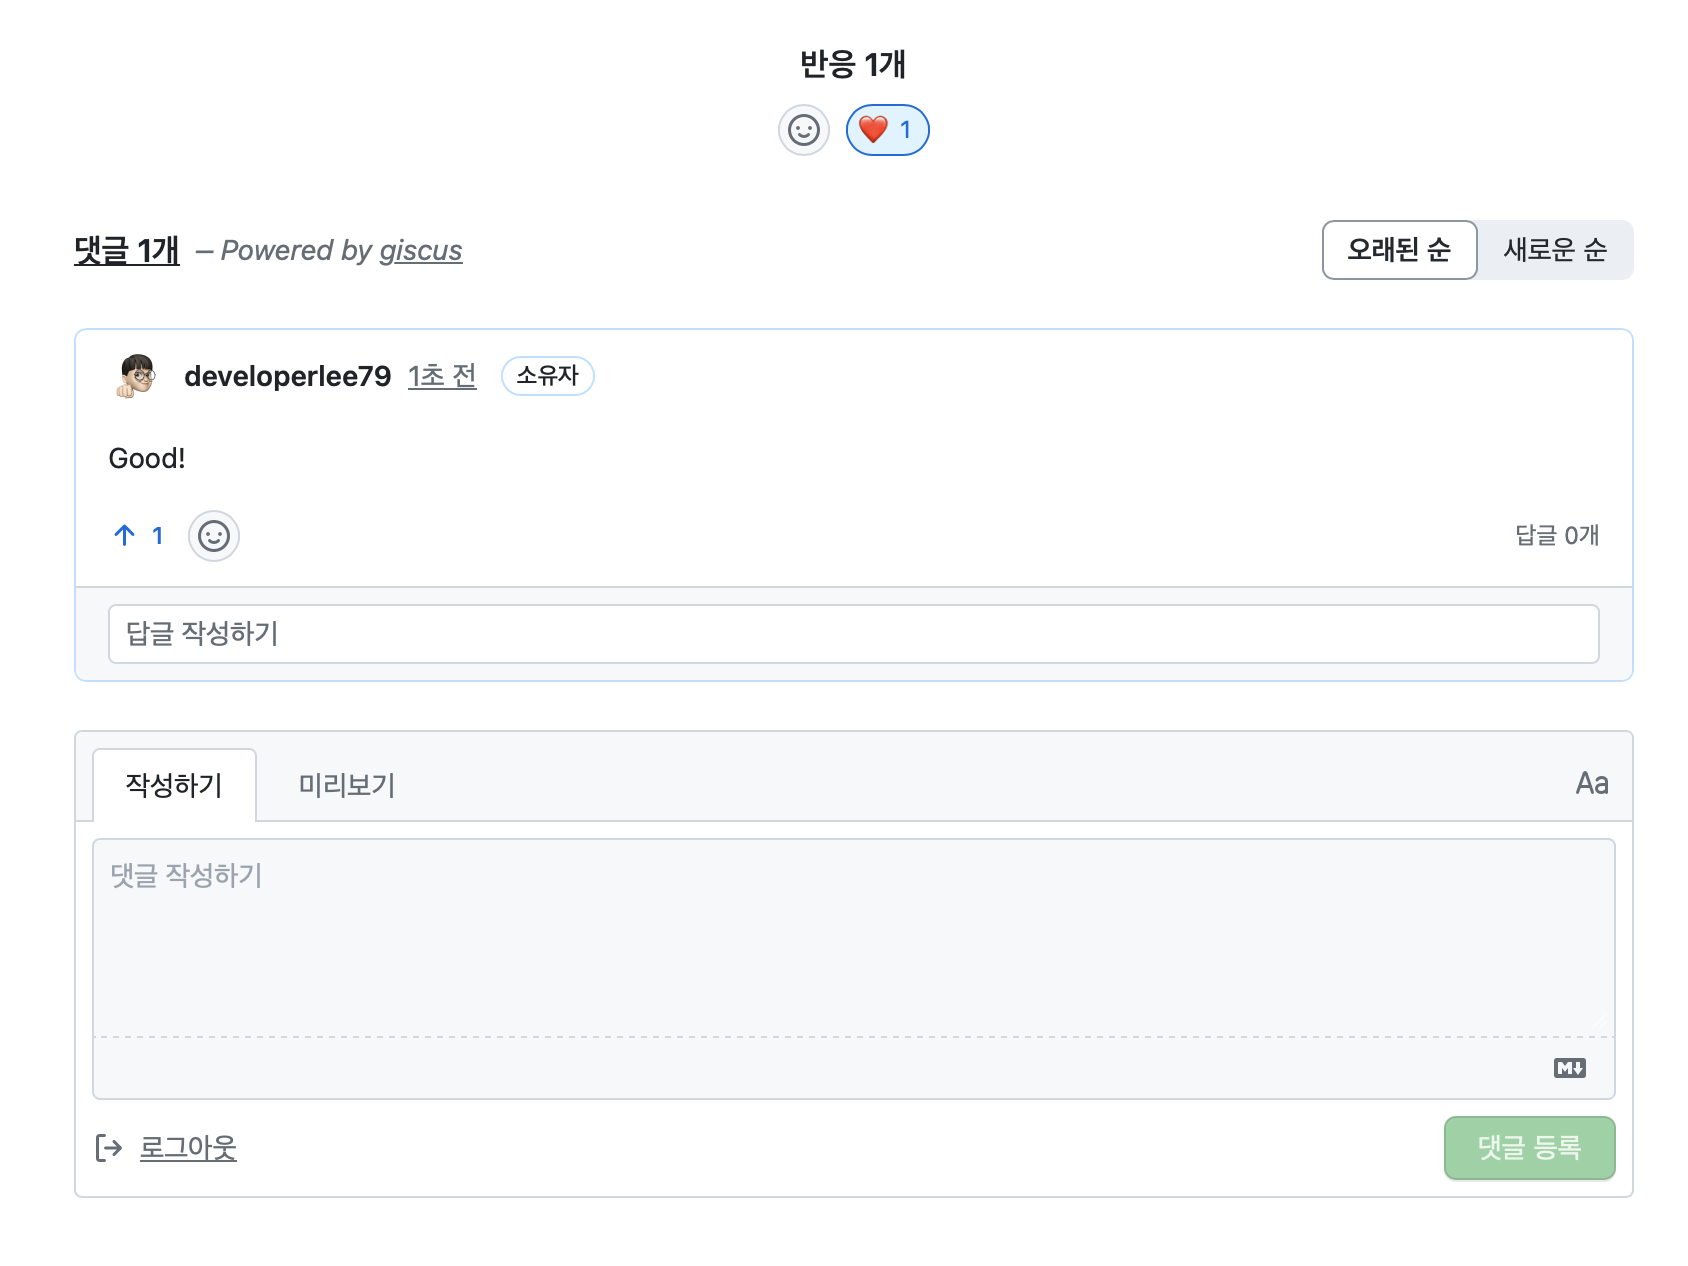
After loading the page, you can confirm the widget is working correctly.
Hiding Comments Per Post
To disable comments on specific posts, add a condition to the giscus-comment.html include logic that checks the page.comments variable from the post’s Front Matter.
{% if page.comments != false %}
<div class="container">
  <div class="row">
    <div class="col col-12">
      {% include giscus-comments.html %}
    </div>
  </div>
</div>
{% endif %}
Then add comments: false to the Front Matter of any post where you want to hide the comment section.
---
title: "Post Title"
comments: false
---
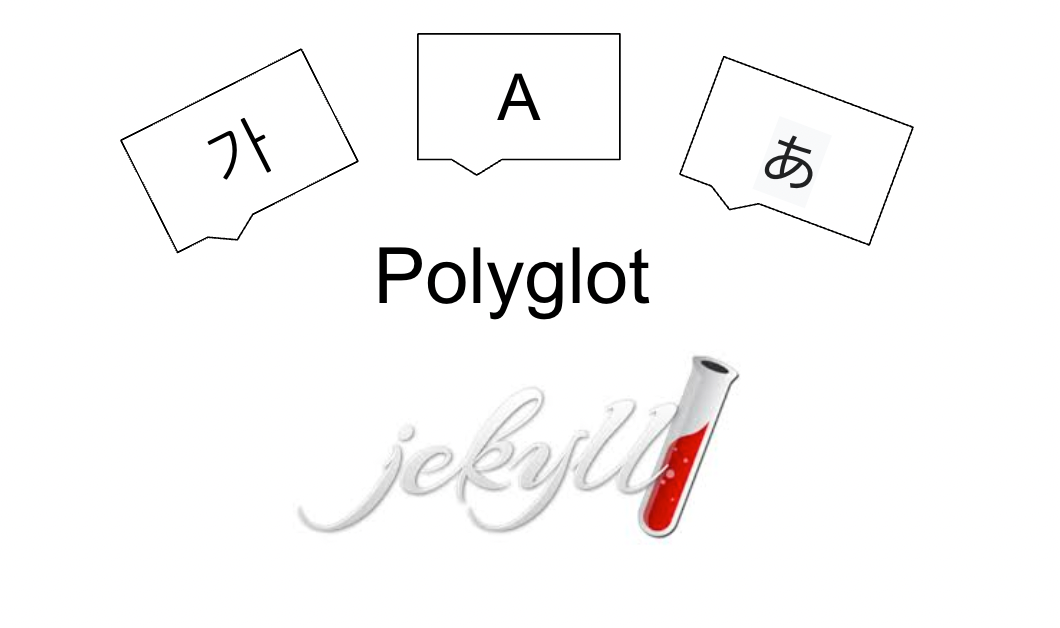
Polyglot Multilingual Support
For multilingual websites like mine, there is a need to provide a different comment UI per language.
When using the Jekyll-Polyglot plugin, the currently active language is stored in the site.active_lang global variable, so multilingual support is straightforward.
<script src="https://giscus.app/client.js"
        data-lang="{{ site.active_lang | default: site.data.settings.giscus.lang }}"
        async>
</script>
Syncing the Blog Theme with the Giscus Theme
The default value of preferred_color_scheme for the data-theme variable follows the OS/browser setting.
My blog lets users toggle between light and dark mode, but if the blog theme and OS/browser setting differ, the comment widget no longer matches the page.
To fix this, I updated the script loading logic to reference site.data.settings.color_scheme — the blog’s active theme setting — so the Giscus theme updates in sync with the blog theme.
{% if site.data.settings.color_scheme == "light" %}
  <script src="https://giscus.app/client.js"
          data-theme="light""
          async>
  </script>
{% else %}
  <script src="https://giscus.app/client.js"
          data-theme="dark"
          async>
  </script>
{% endif %}